The rumble of your furnace kicking on at dawn might as well be the sound of money evaporating into the winter air.
As an experienced home inspector and energy efficiency consultant, I’ve crawled through hundreds of attics and peered inside countless walls, and I’ll tell you this: most homes are hemorrhaging heat in ways their owners never suspect.
But here’s the good news – proper insulation isn’t just about piling pink fiberglass everywhere.
It’s about understanding how your house actually works as a system and making smart decisions about where and how to insulate.
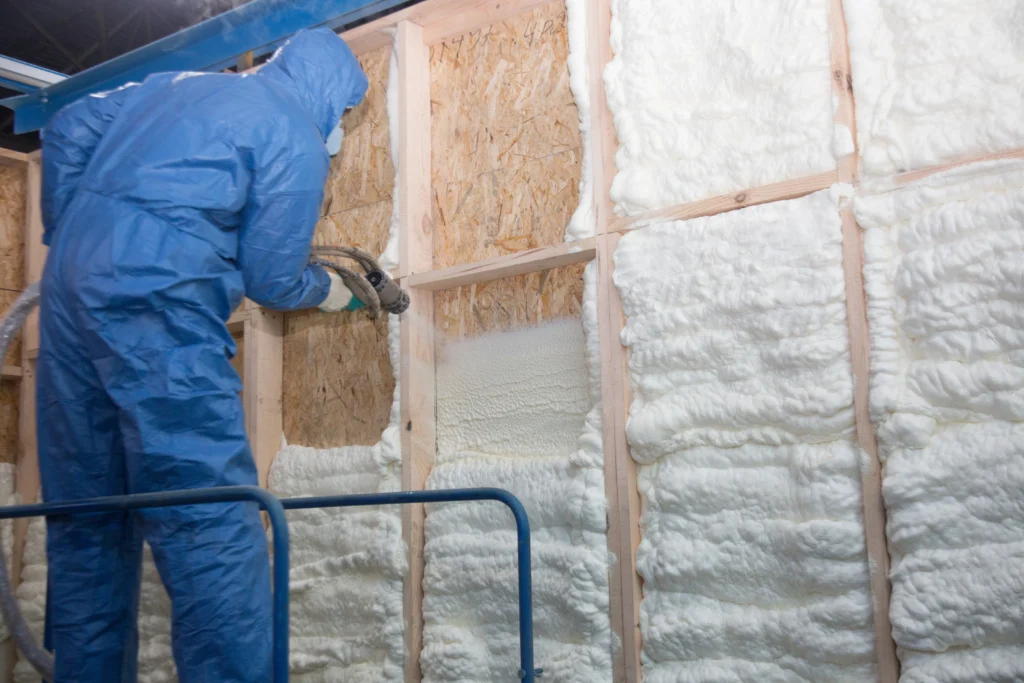
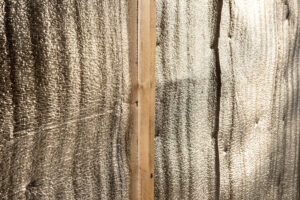
Installing Spray Foam Insulation
1. The Hidden Heat Thieves: Beyond The Obvious
Forget everything you think you know about heat loss. While everyone focuses on windows and doors, I’ve found some of the biggest culprits hiding in plain sight. Take your recessed lighting, for instance. Those innocent-looking ceiling cans might as well be chimneys, creating a direct pipeline from your heated living space into your freezing attic. Each one can leak as much air as a 2-inch hole in your ceiling.
But here’s what really keeps me up at night: thermal bridging. Imagine your wall studs as tiny highways conducting heat straight through your insulation. In fact, up to 40% of your wall’s insulation value can be compromised by these wooden thermal bridges. The solution? Consider installing a continuous layer of rigid foam insulation over your studs during your next siding replacement. It’s like throwing a blanket over the entire frame of your house.
2. The Insulation Strategy Nobody Talks About: Zone Defense
Here’s a radical thought: not all rooms need the same level of insulation. I call this the “zone defense” approach to home insulation. Think about it – does your rarely-used guest room need the same insulation investment as your main living space? Probably not.
Start by creating an insulation priority map of your home. Rooms with exterior walls facing prevailing winds need extra attention. North-facing walls, in particular, take a beating during winter storms. I’ve seen homeowners save thousands by strategically over-insulating these critical areas while maintaining standard insulation levels elsewhere.
The real genius move? Focus on insulating the boundaries between your heated and unheated spaces. That wall between your living room and the attached garage deserves just as much attention as any exterior wall. I recently worked with a homeowner who reduced their heating bills by 23% simply by properly insulating interior walls adjacent to their unheated spaces.
3. The Material Truth: When Premium Really Pays Off
Let’s bust a myth: the most expensive insulation isn’t always the best choice for every situation. I’ve seen too many homeowners sink thousands into spray foam when they could have achieved similar results with strategic air sealing and blown-in cellulose at half the cost.
However, there are spots where premium materials are worth every penny. Take your rim joists – those wooden bands running along the top of your foundation wall. This area is notorious for condensation and heat loss. Here, closed-cell spray foam isn’t just an luxury; it’s practically a necessity. It’s the only material that can reliably air-seal and insulate these tricky spots while preventing moisture problems.
Here’s my rule of thumb for insulation materials:
- Use spray foam in complex junctions, rim joists, and areas prone to air leakage
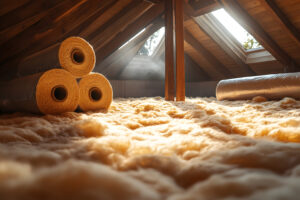
- Choose blown-in cellulose for attics and existing walls (it outperforms fiberglass in real-world conditions)
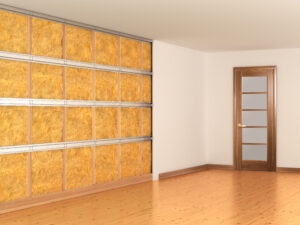
- Consider rock wool batts for new wall construction (superior fire resistance and sound dampening)
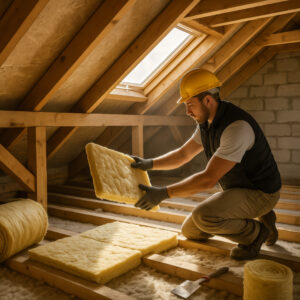
- Save money with standard fiberglass in uncomplicated spaces like floor joists
4. The Ventilation Paradox: Why a Tight House Needs to Breathe
Here’s something that might sound counterintuitive: as you increase your home’s insulation, you need to pay more attention to ventilation. I’ve seen too many well-meaning insulation projects turn homes into moisture traps. One memorable case involved a homeowner who sealed and insulated their house so thoroughly that condensation started forming on their windows and mold began growing in their closets.
The solution isn’t to leave gaps in your insulation – it’s to create controlled ventilation. Consider installing a heat recovery ventilator (HRV) if you’re planning a major insulation upgrade. These brilliant devices exchange stale indoor air with fresh outdoor air while preserving most of your heat. Think of it as your house’s respiratory system.
Smart ventilation strategies for a well-insulated home:
- Install bathroom fans that run on a humidity sensor
- Add soffit and ridge vents in attics to prevent ice dams
- Consider mechanical ventilation for especially tight homes
- Use trickle vents in replacement windows
5. The Timing Strategy: Maximizing Return on Investment
Timing is everything when it comes to insulation projects. The best insulation upgrades often piggyback on other home improvements. Planning to replace your roof? That’s your golden opportunity to add above-roof rigid foam insulation. Updating your siding? Perfect time for that continuous exterior insulation layer we discussed earlier.
I’ve developed what I call the “disruption ratio” – if you’re already disrupting a space for another project, the cost of adding insulation drops dramatically. For example, insulating walls typically cost $2-3 per square foot when done as part of a siding replacement versus $4-6 per square foot as a standalone project.
Strategic timing considerations:
- Coordinate insulation with roof replacements
- Plan wall insulation during siding projects
- Upgrade attic insulation before installing a new HVAC system
- Address basement insulation during waterproofing work
Beyond these basics, remember that insulation is just one part of your home’s thermal envelope. Think of your house as a coffee thermos – the insulation is important, but so is the seal on the lid. A comprehensive approach to winter weatherization should include air sealing, window maintenance, and HVAC efficiency.
The most successful insulation projects I’ve seen share one common thread: they’re based on a thorough understanding of how that specific house works. Every home has its own quirks and challenges. What works for a Victorian-era home might be completely wrong for a mid-century ranch. Take the time to understand your home’s specific needs, or better yet, invest in a professional energy audit before making any major insulation decisions.
Remember, the goal isn’t just to add insulation – it’s to create a comfortable, efficient, and healthy living environment that can stand up to whatever winter throws at it. With careful planning and strategic implementation, you can transform your home into a cozy sanctuary that’s both comfortable and cost-effective to heat.

